I slacked off on writing notes for this one. It was well written and a really fast read.
This is a book about the beginnings of the intelligence service in the US. A man named Donovan was asked by Rosevelt to bootstrap this service because it didn’t exist. This service was named the OSS: Office of Strategic Services. Donovan, a lawyer, filled this with scholars from all fields. Including many fields that traditionally didn’t not do intelligence work. They were able to get information from unconventional sources: newspaper clippings, family photos, etc.
I heard about Julia which is 1984 from the perspective of Julia, the other main character in 1984. I decided I wanted to re-read 1984 before reading Julia so I could appriciate it more. I last read 1984 when I was in late elementary or early middle school. So I definitely didn’t remember details, but did remember the general gist of things at least. I wrote the below on my phone at varying levels of detail. Something to improve with these book reports.
I’ve been trying to take notes as I read books now. I tend to totally forget what a book was about a few months after I read it. This is an attempt to counter that a bit.
My friend Karl mentioned he had read this book, so I decided to give it a go. I’m stoked I did.
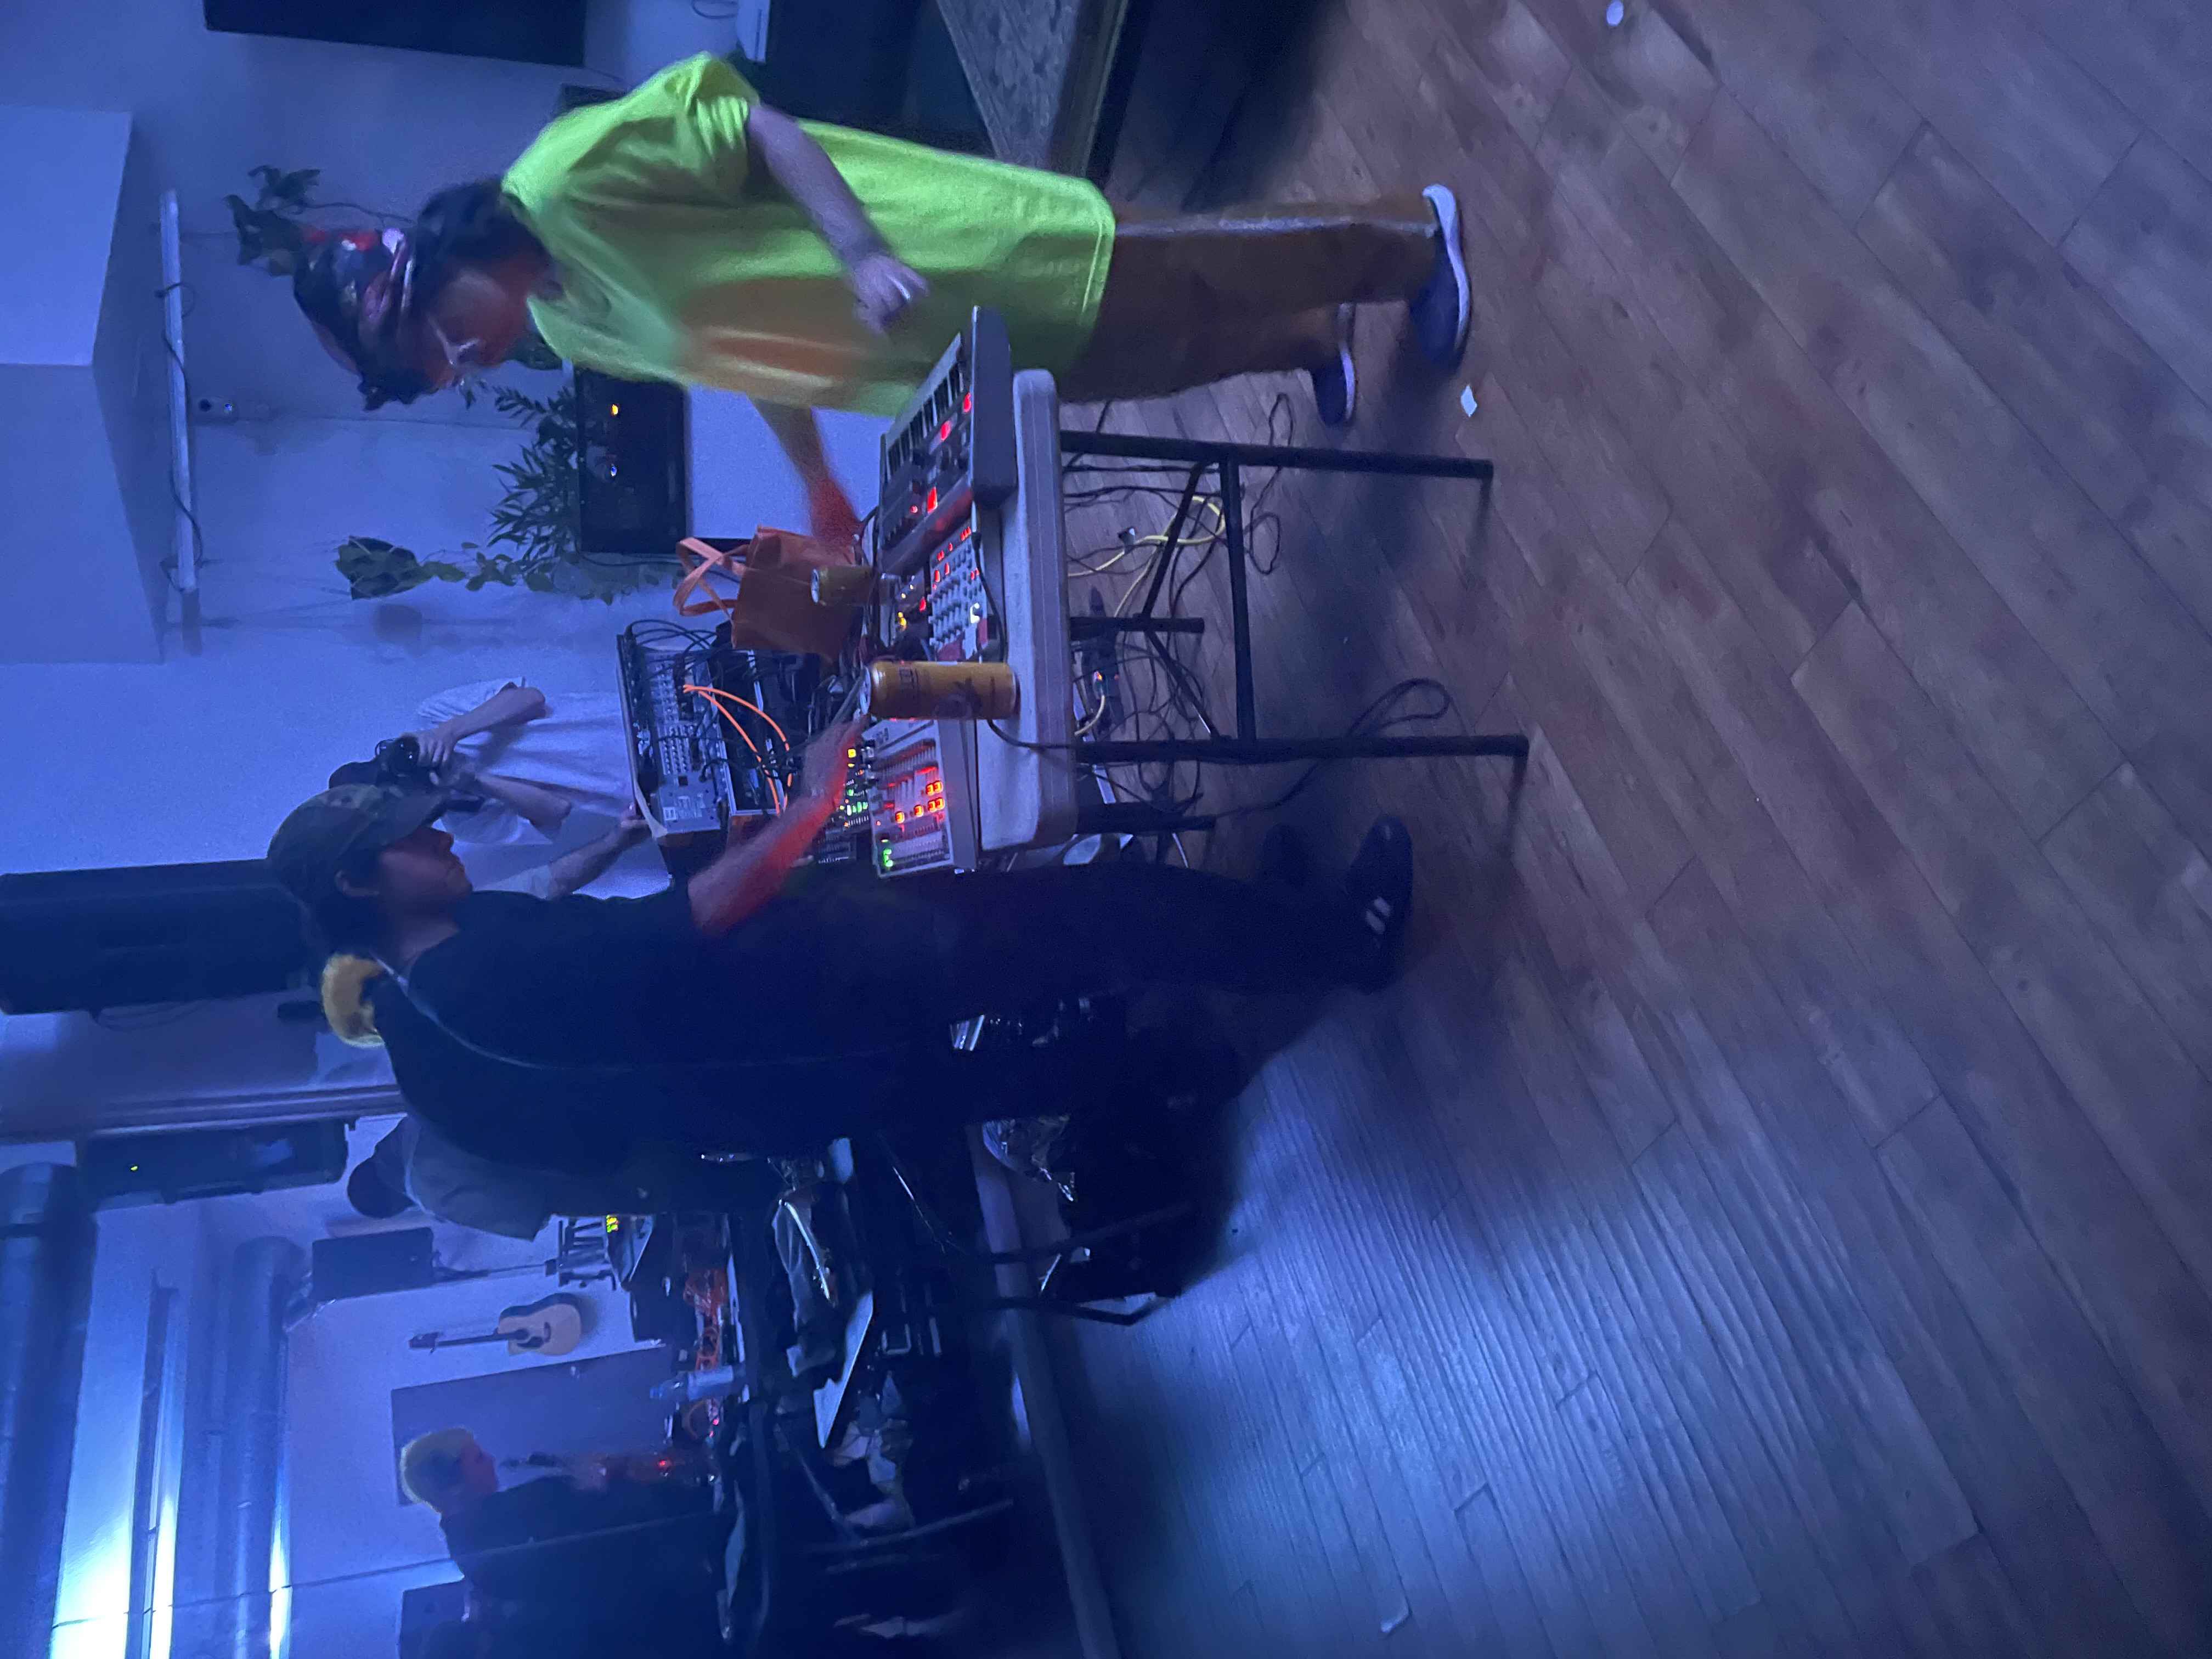
Ok, this was Feb 17, but it was so rad I wanted to document it. This was three drummers:
Louis Cole
Justin Brown
Roni Kaspi
Basically just doing a jam session. It was super fun to watch these folks trade beats back and forth. (I didn’t take any pics, will get better about this!)
Kontravoid at Lodge Room
Buzz Kull opened and he was fun to watch. Angry screaming dude over some beats with a lot of glitchy visuals projected behind him. Boring description, but it worked for me at the time!
Kontravoid was better than I expected. I was always 50/50 on him, but he put on a good show and I really enjoyed it. So I am now 70/30 on Kontravoid. Highlight was the backing video of him riding a jetski with the mask on (heavily processed of course). Very fun!
Failed to see Javier Santiago at Stowaway
We tried to see this, but the street that the Stowaway was shutdown because the cops were protecting some fancy dinner event that benefited the IDF. Bullshit! After having cops tell me to lie to other cops to get access to the road, we gave up.
Jermaine Paul Quintet
Luckily, Javier was playing with this quintet, so we didn’t miss him fully. This was a show at a space in Sherman Oaks. I forgot who drummed, but I remember really enjoying his work.
Ben Frost at Lodge Room
Totally floored by this show. I didn’t know what to expect. I’m more familar with his ambientish work. For this show, he was working with a guitar player. It seemed like the guitars could trigger percussion samples and Ben Frost was creating the sounds beneath the guitar/percussion combo. It was great! It was loud! It was awesome!
Mononeon at Lodge Room
Mononeon was super fun. His new songs are good, he had a lot of folks up on stage. At one point, there was like 4-6 backup singers.
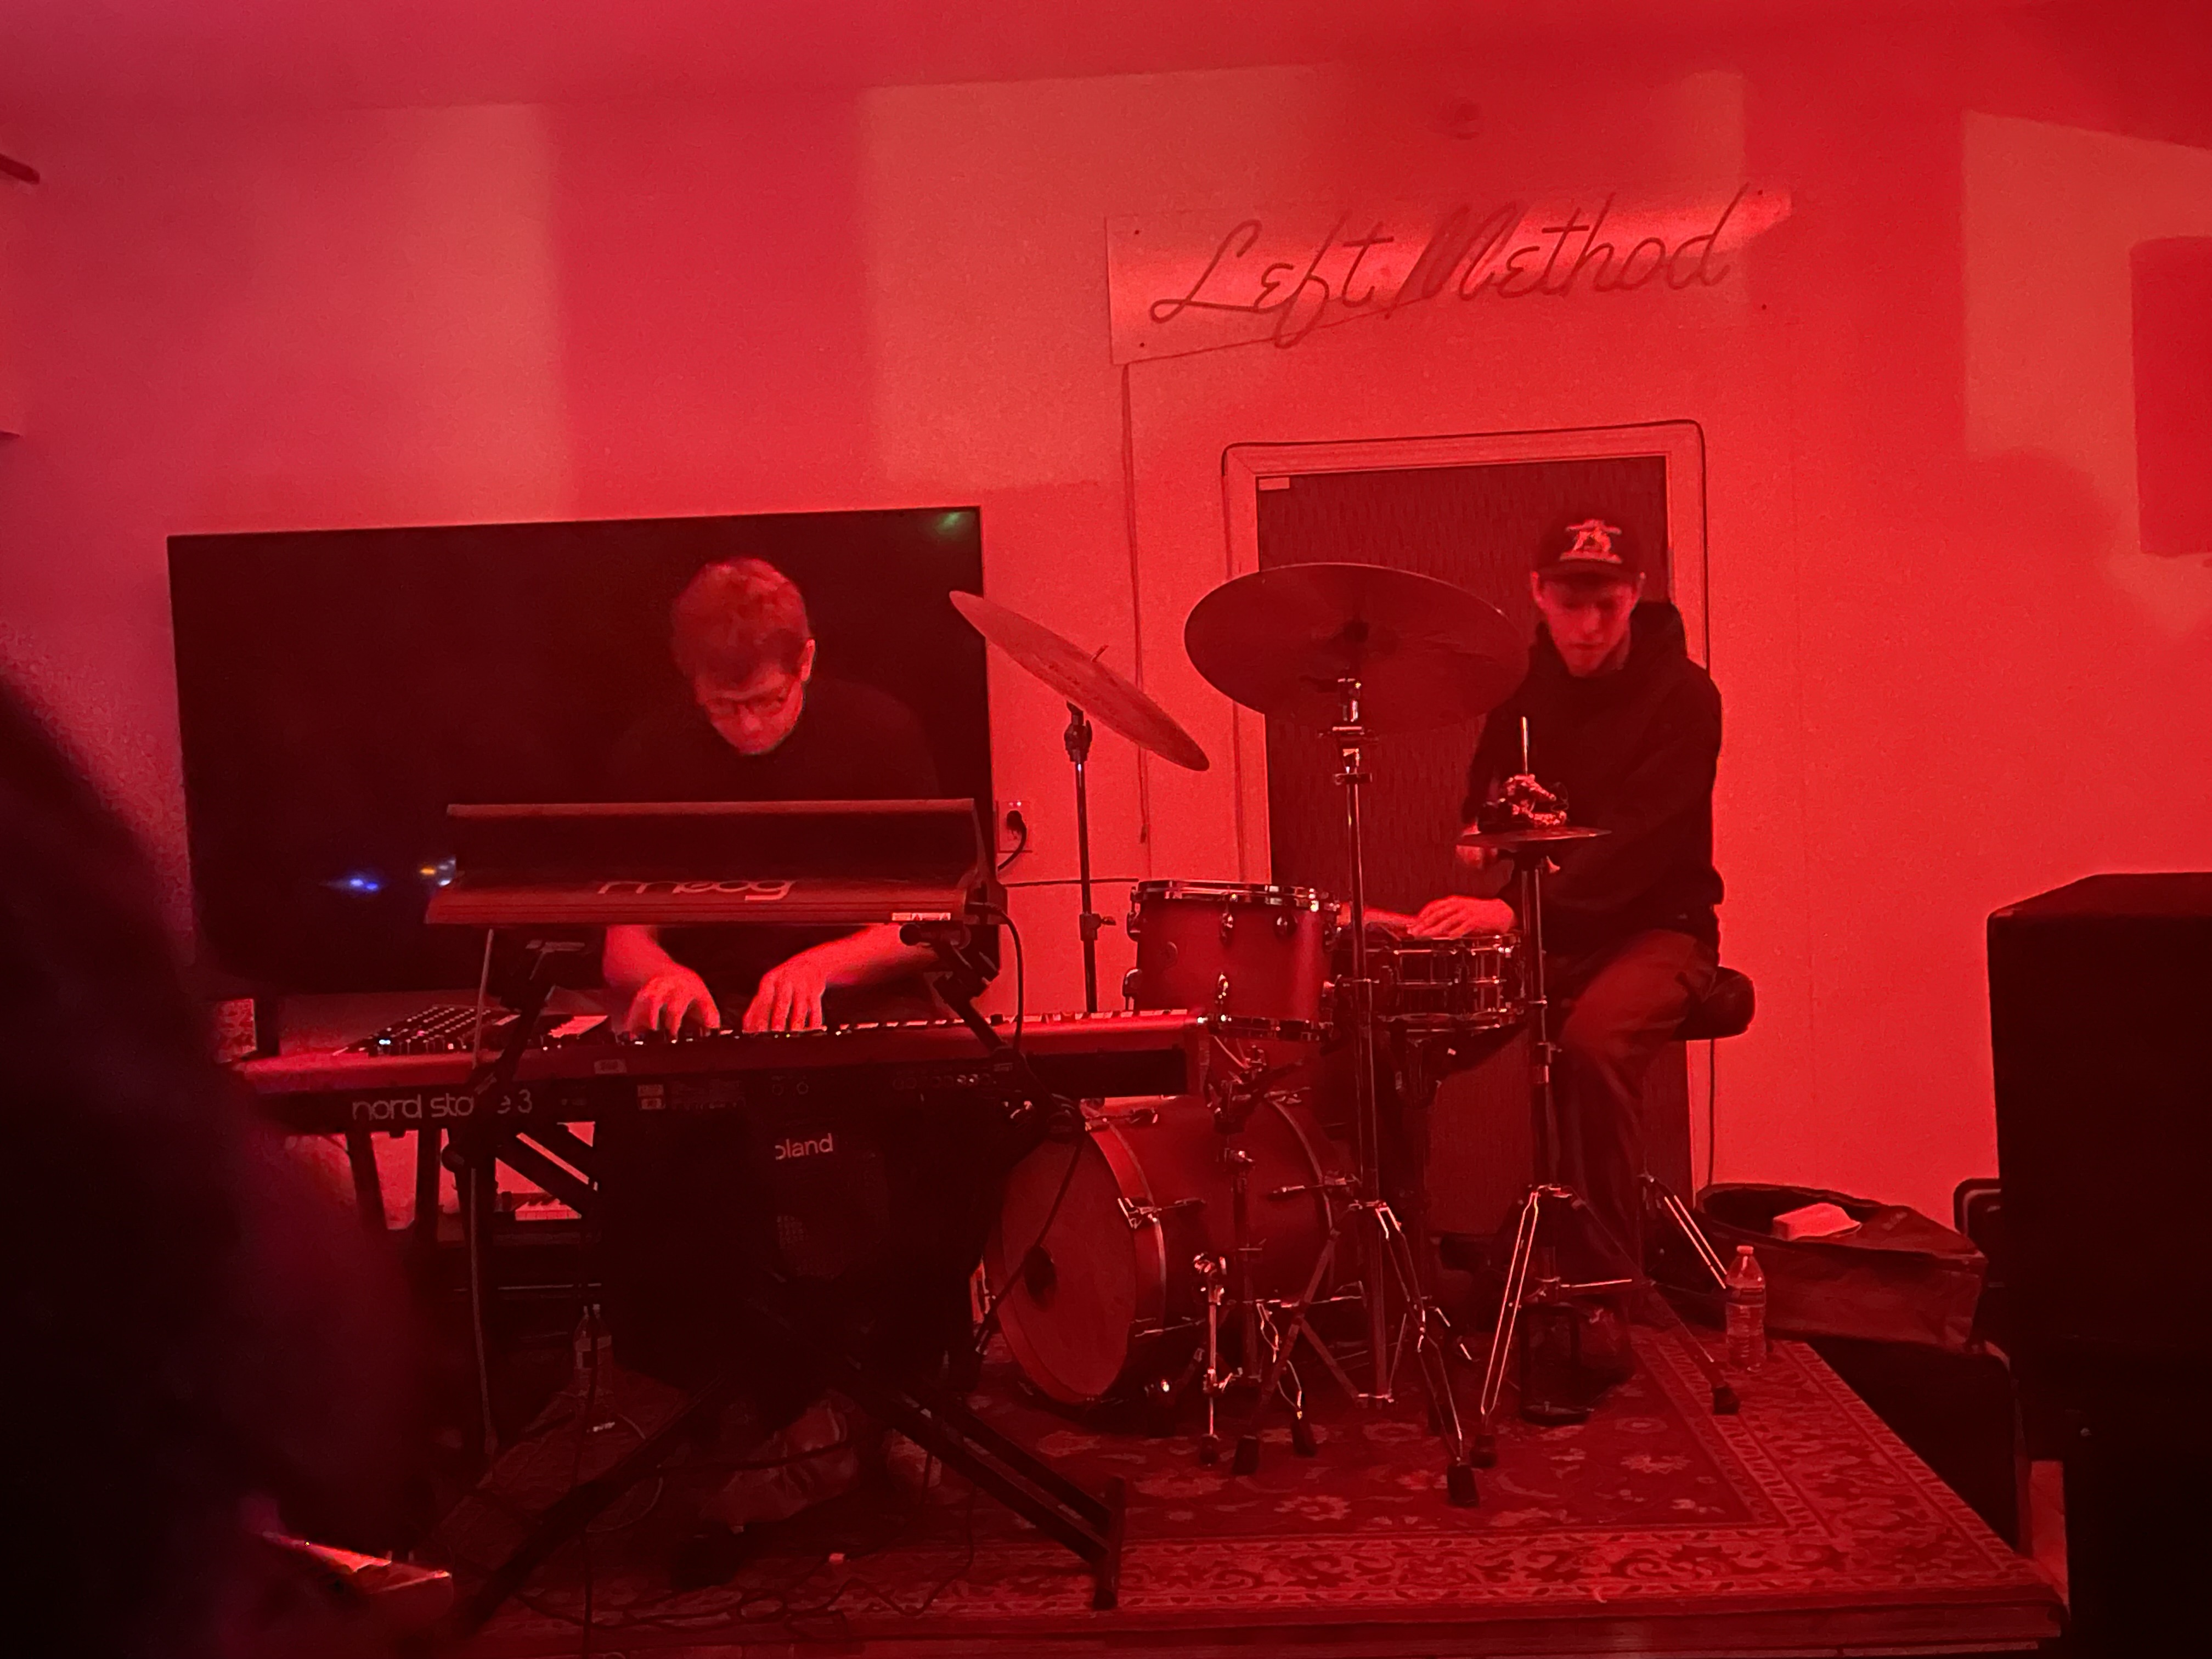
Minaret Show @ Left Method
Opened with Luke Titus on drums and Elijah Fox on keys. Luke Titus is definitely in my top 5 list of drummers. I love his style and he can play really fast. I sometimes feel like I’m listening to drum and bass, but then I open my eyes and it’s a HUMAN BEING hitting the drums.
It closed with Henry Solomon, chiquitamagic, Billy Voltage doing a set with synths and saxophone. It worked out pretty well! There were some really cool moments during their set.
Been really enjoying the shows Minaret Records puts on. They are often at venues I’d otherwise never make it to. It feels like a scavenger hunt through a new city to me.
Tsutomu Nakai @ Zinc
Part of a series called ‘Guitar Masters’, which isn’t normally my thing, but I had a lot of fun at this show. Zinc Bar in NYC is a cool space. The drummer was really good. I enjoyed his solos quite a bit!
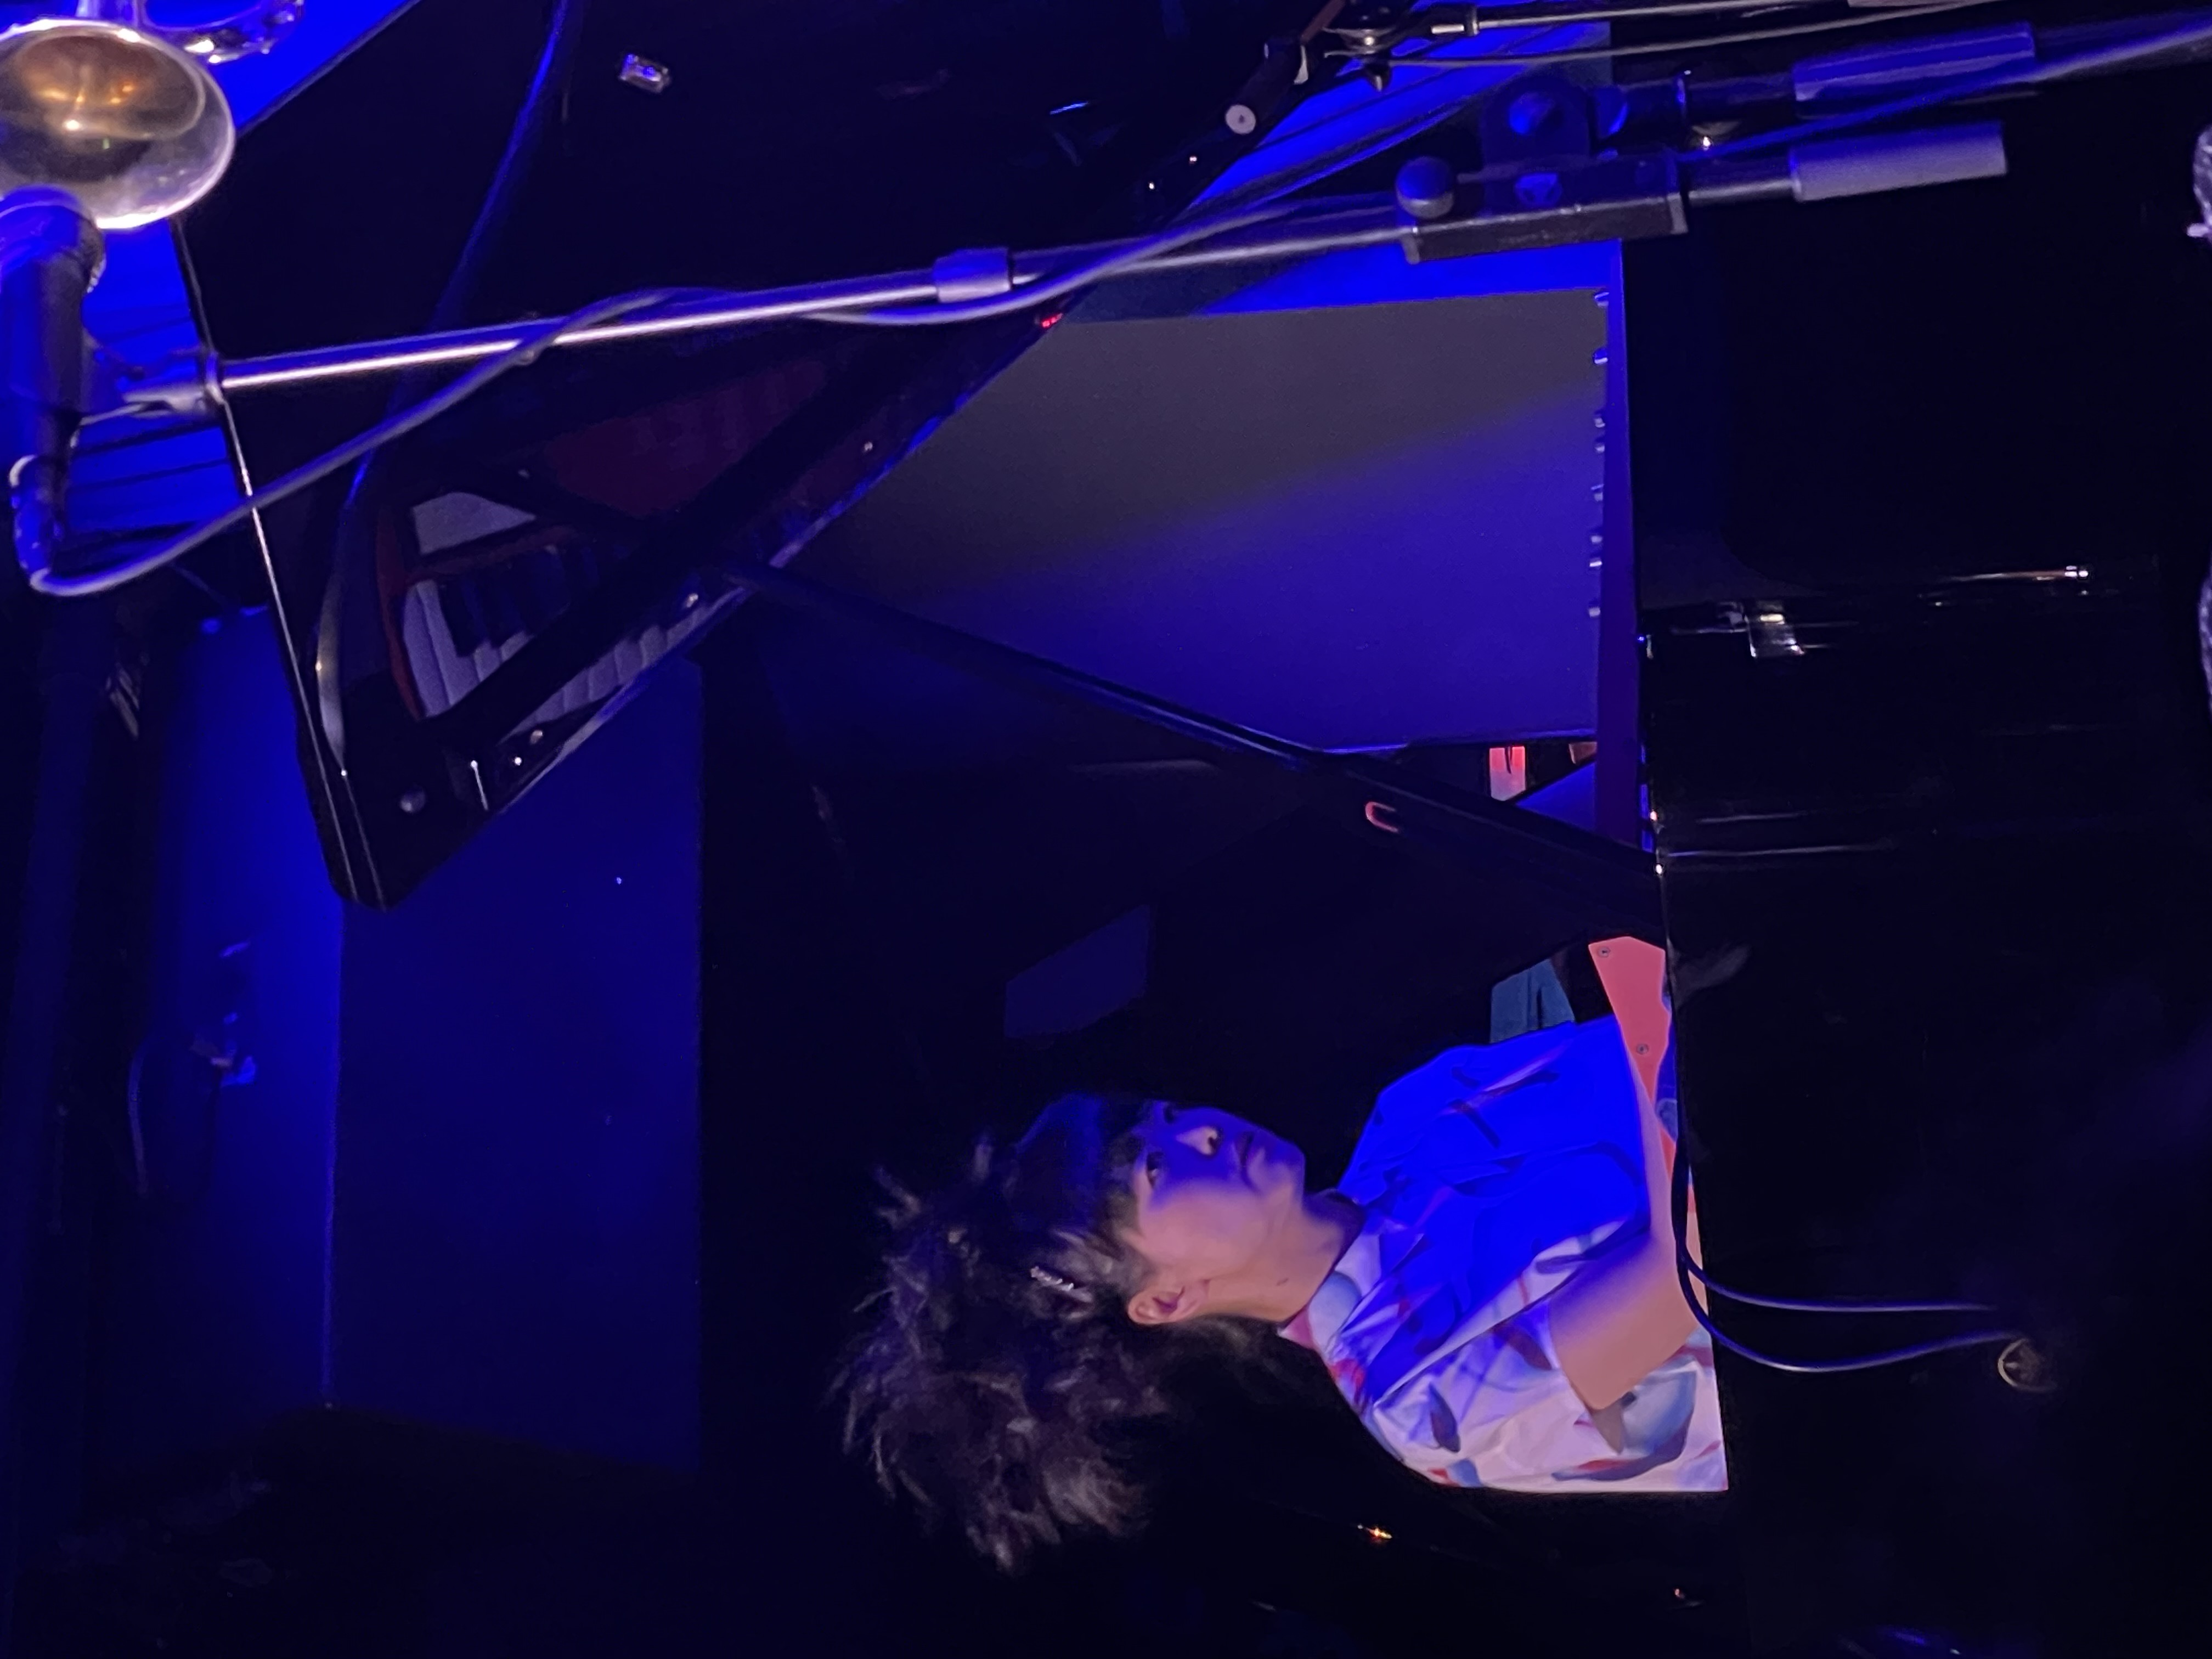
Hiromi’s Sonicwonder @ Blue Note
We made it to the famous Blue Note in NYC to see Hiromi Sonicwonder do their thing. Hiromi was great on keys. I really enjoyed the drummer, I liked that he gave space to be quiet during his solo.
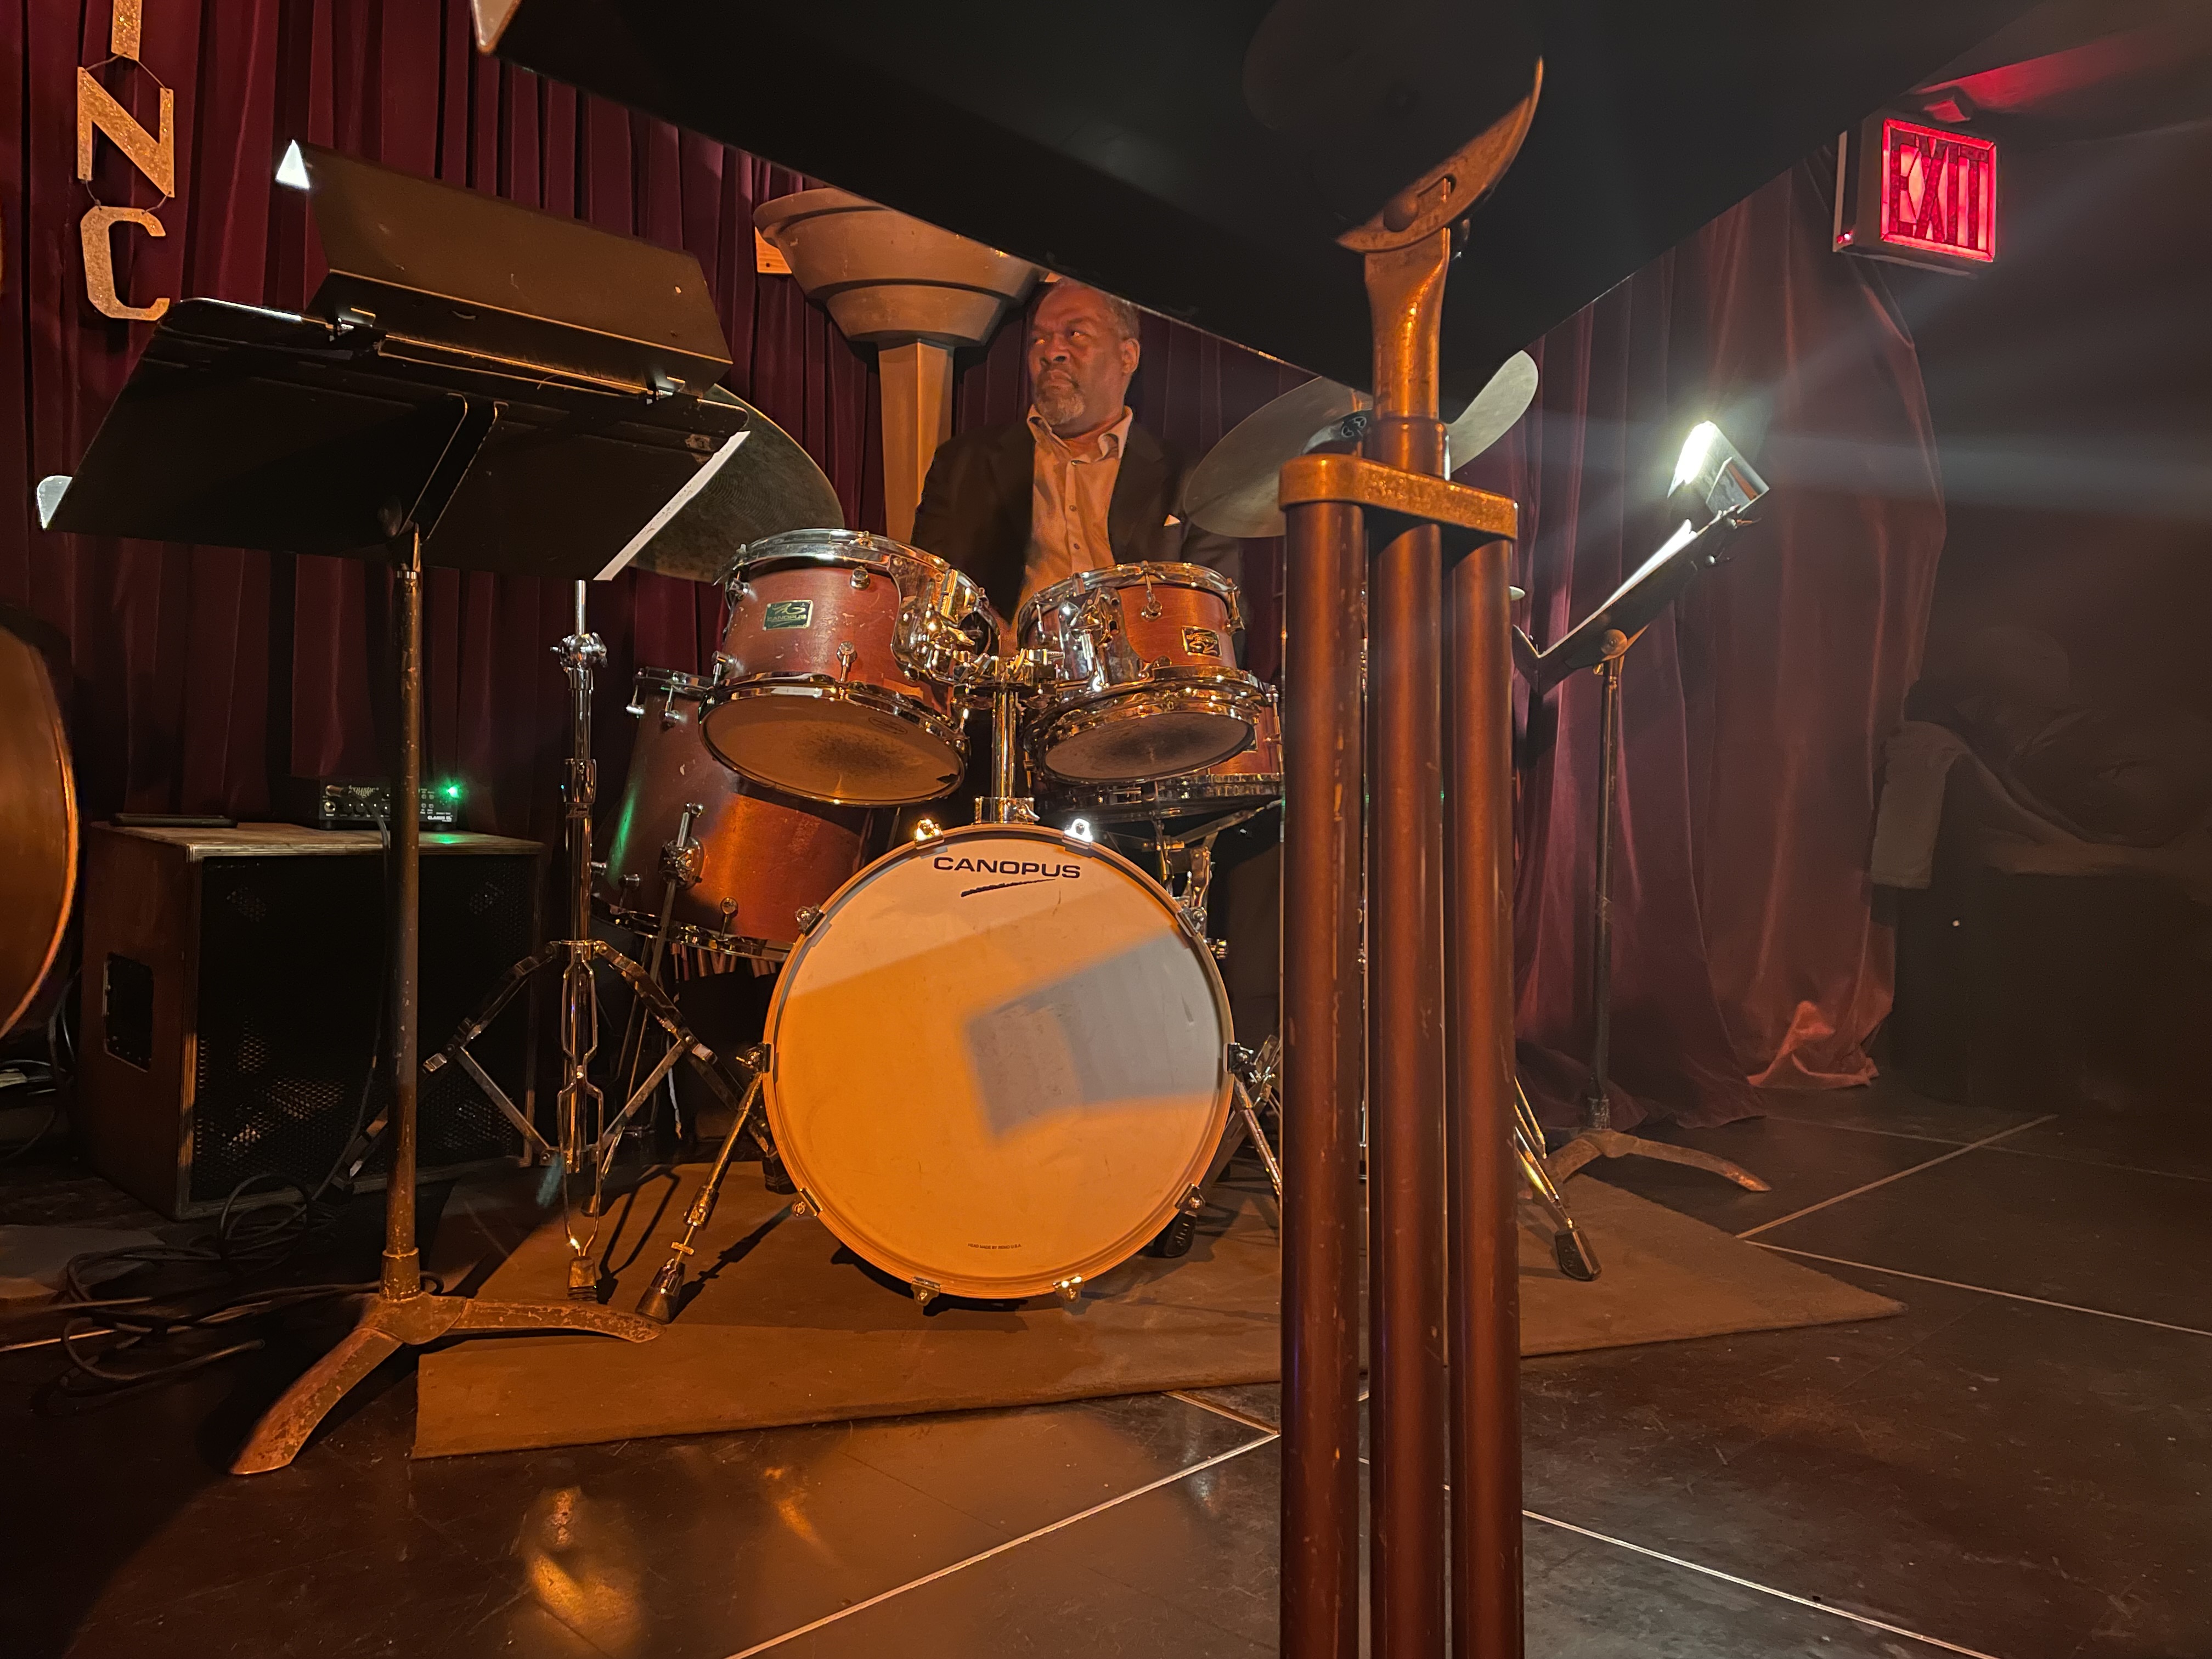
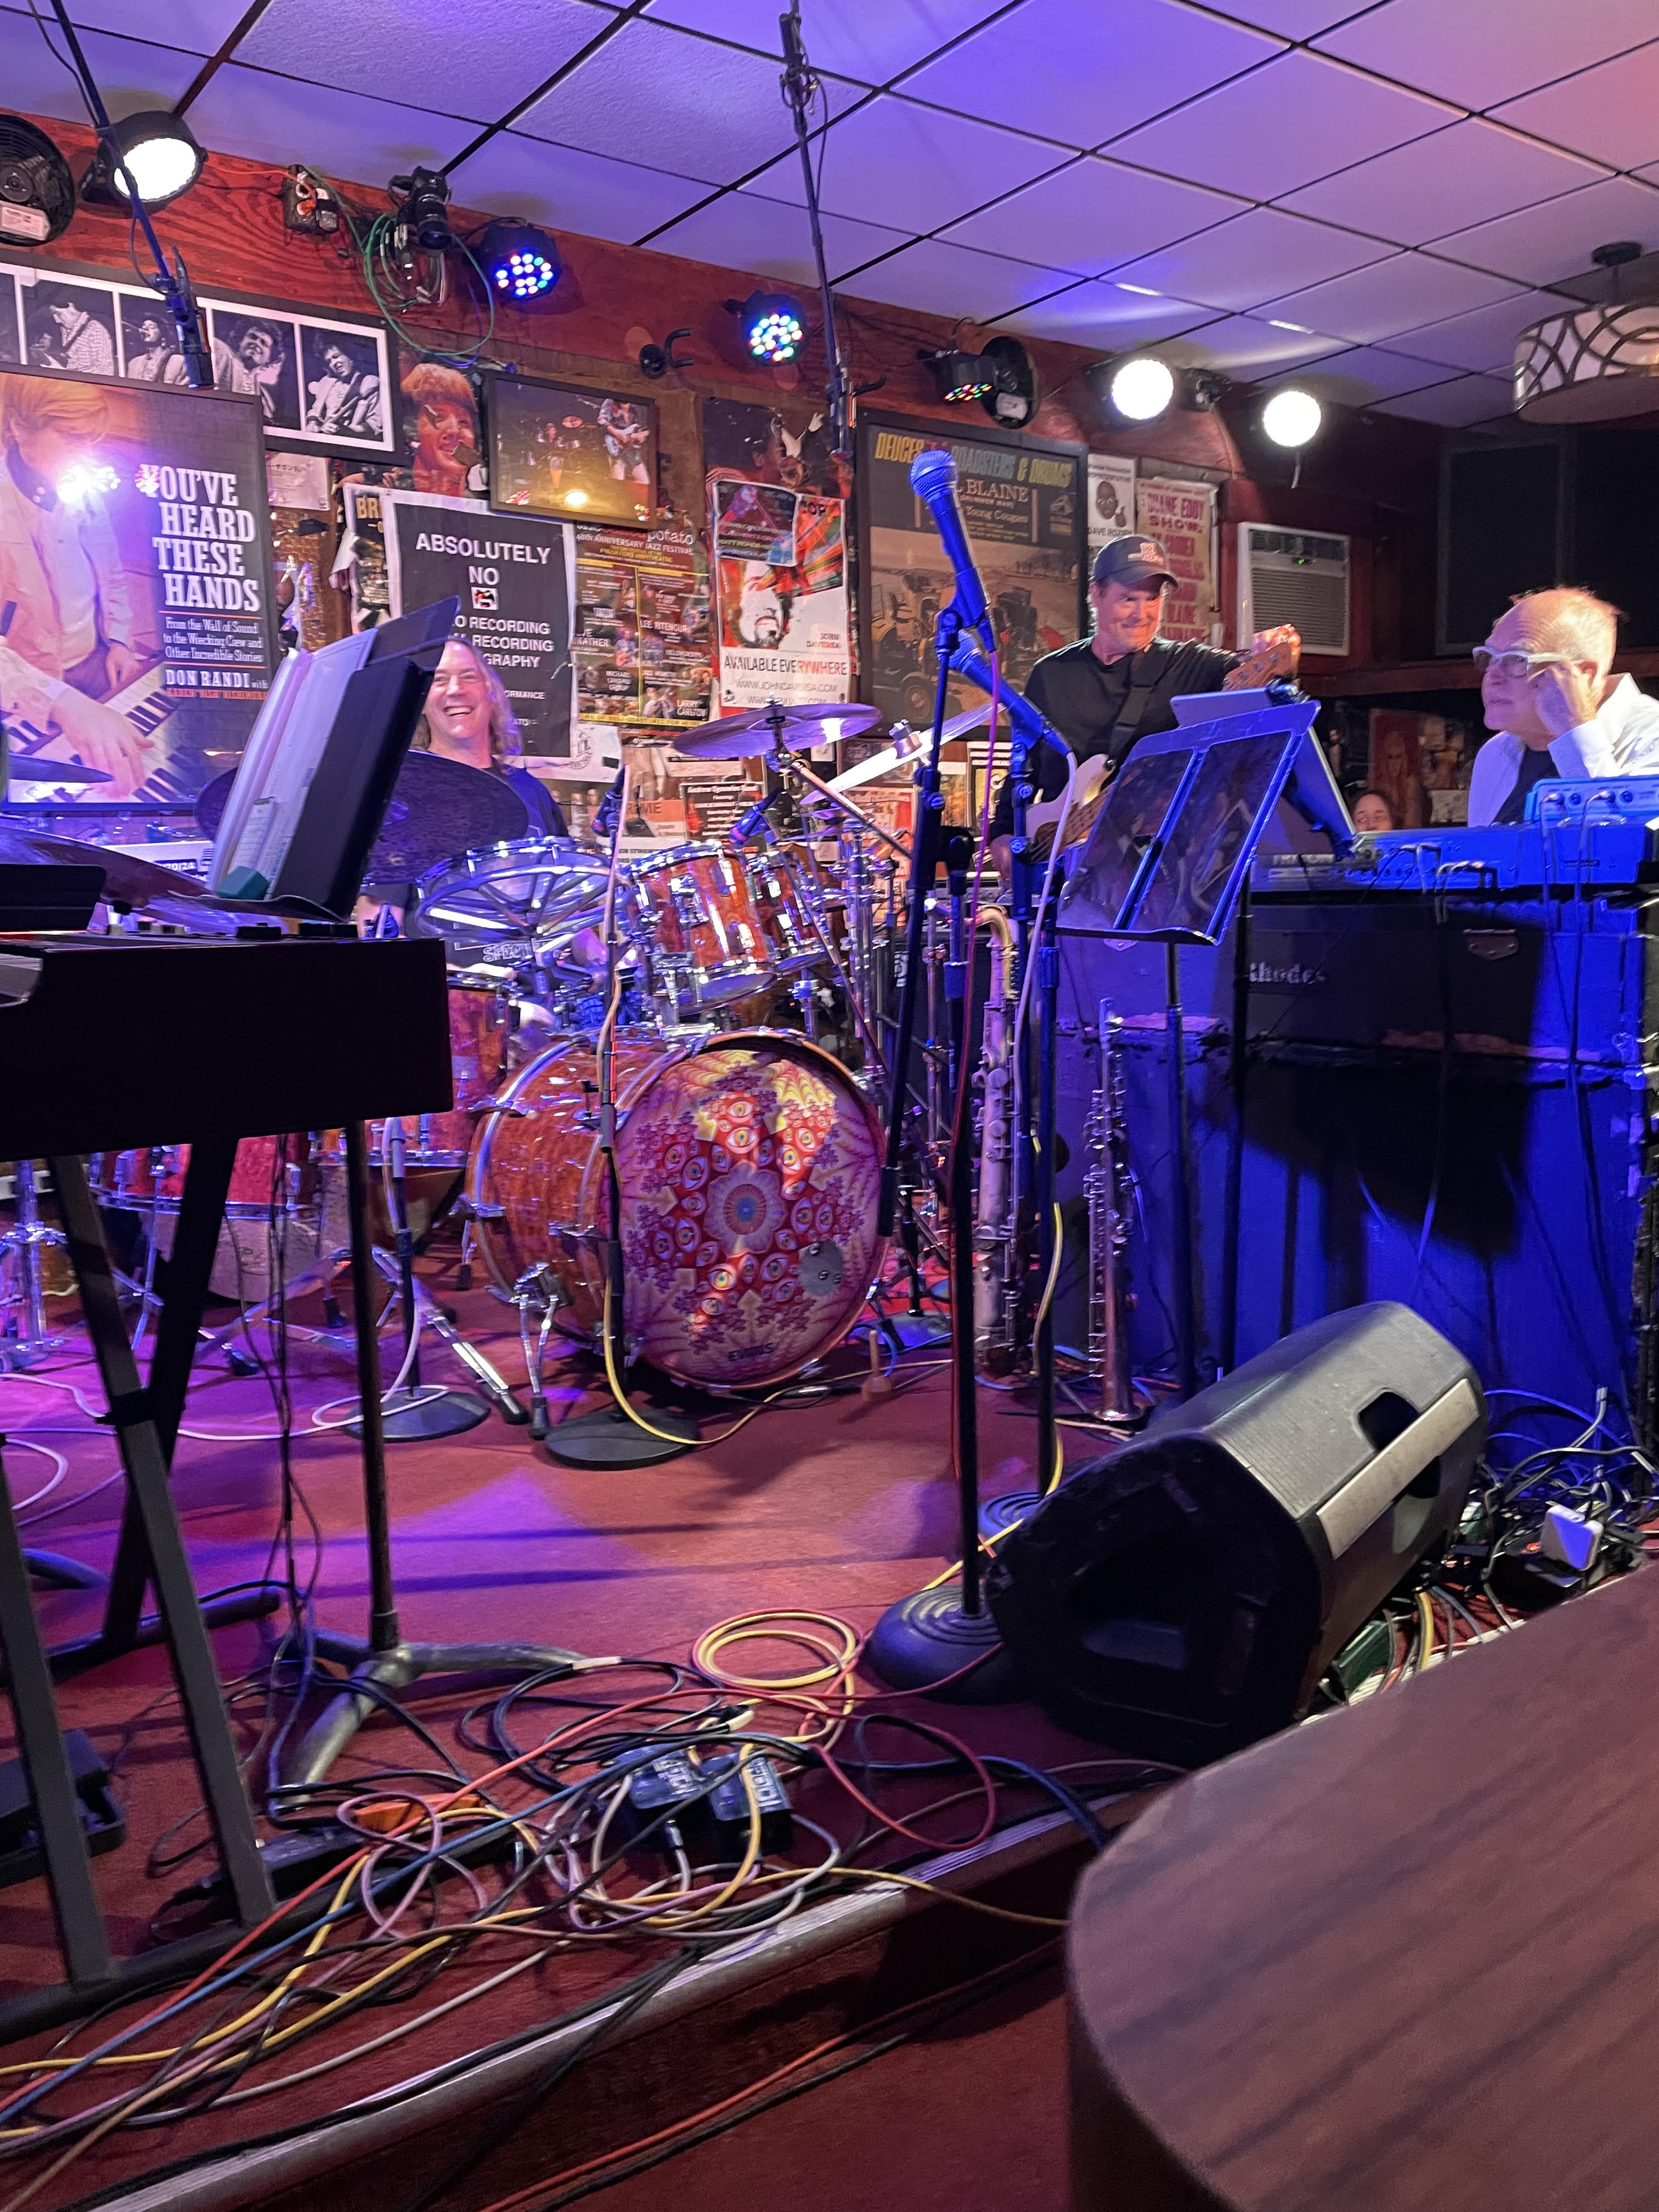
Webb All Stars @ Baked Potato
I went to this to see Danny Carey hit the drums. I was not disappointed. It was great to see him drum in such a small space. You could see him listening the the music and see how focused he was on what he was doing. It was great. The Baked Potato is a really cool venue, looking forward to going back!
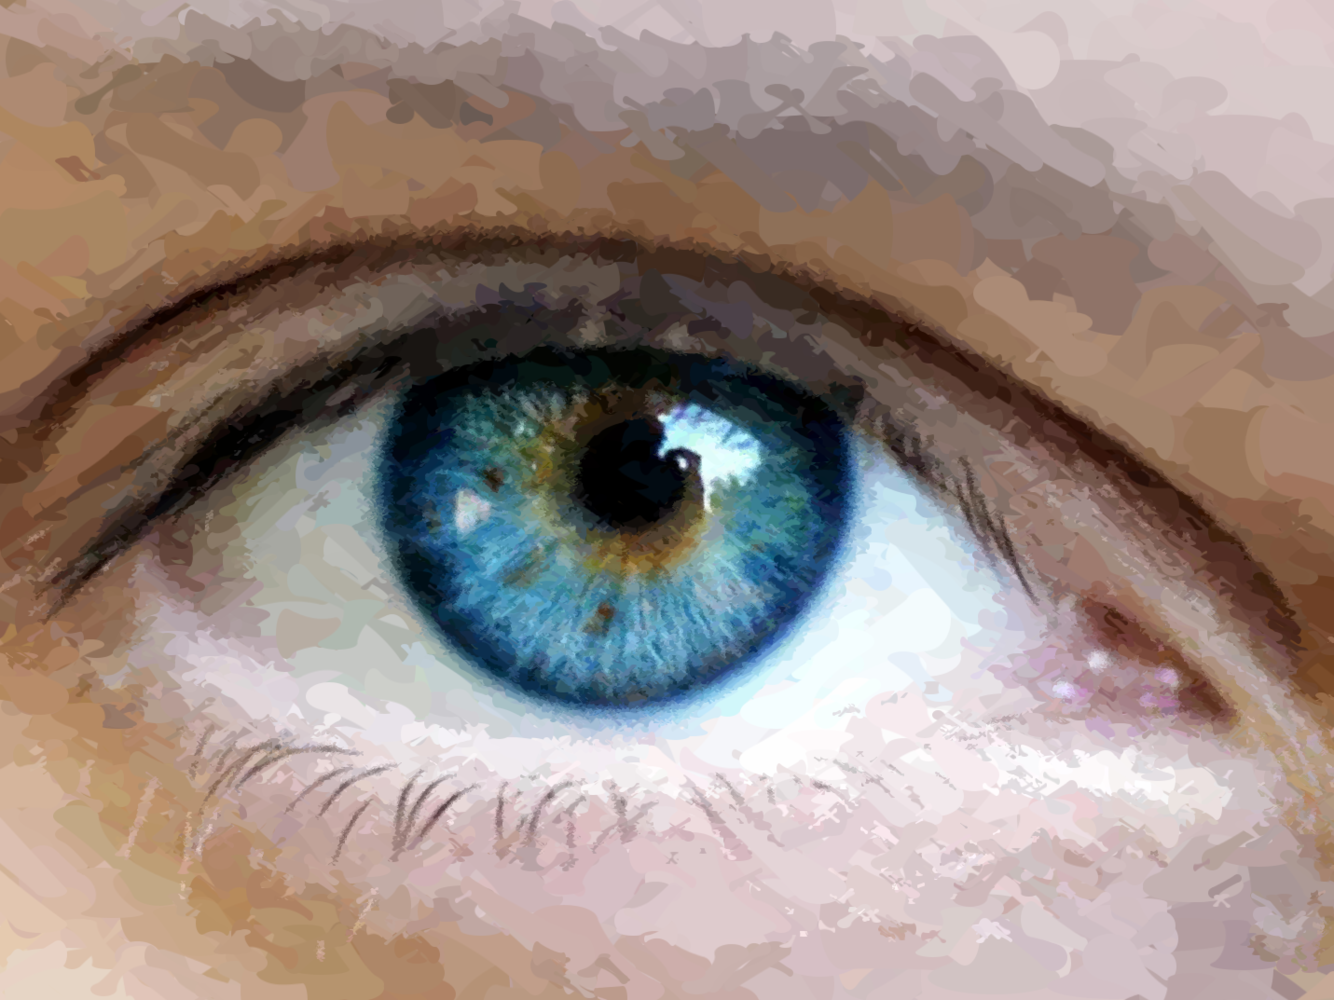
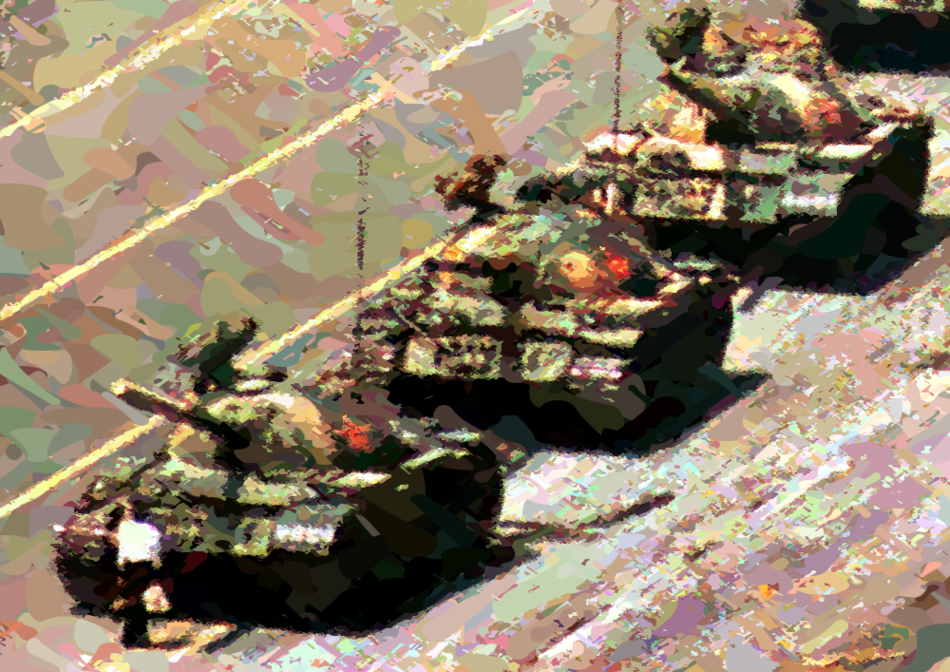
These images were generated with a pretty simple program. It takes an input image and compares it against the current painted image. The program generates a new brush stroke and the new error is calculated between the input image and the painted image, if the stroke reduces the error it is kept, otherwise it is rejected. Final image here
I like how this one turned out, the source image of Tank Man was a bit noisy and I think it interacted with the algorithm in a cool way. Final image here.
I wrote this program in Racket. I’ve been meaning to learn a LISP or Scheme based language for a long time. I thought this program would be a fun way to start. The brush strokes use a technique called
Globs which basically connect to circles together with splines in a way that it has first-derivative continuity with the circles. It’s a nice way to generate brush strokes. Final image here.
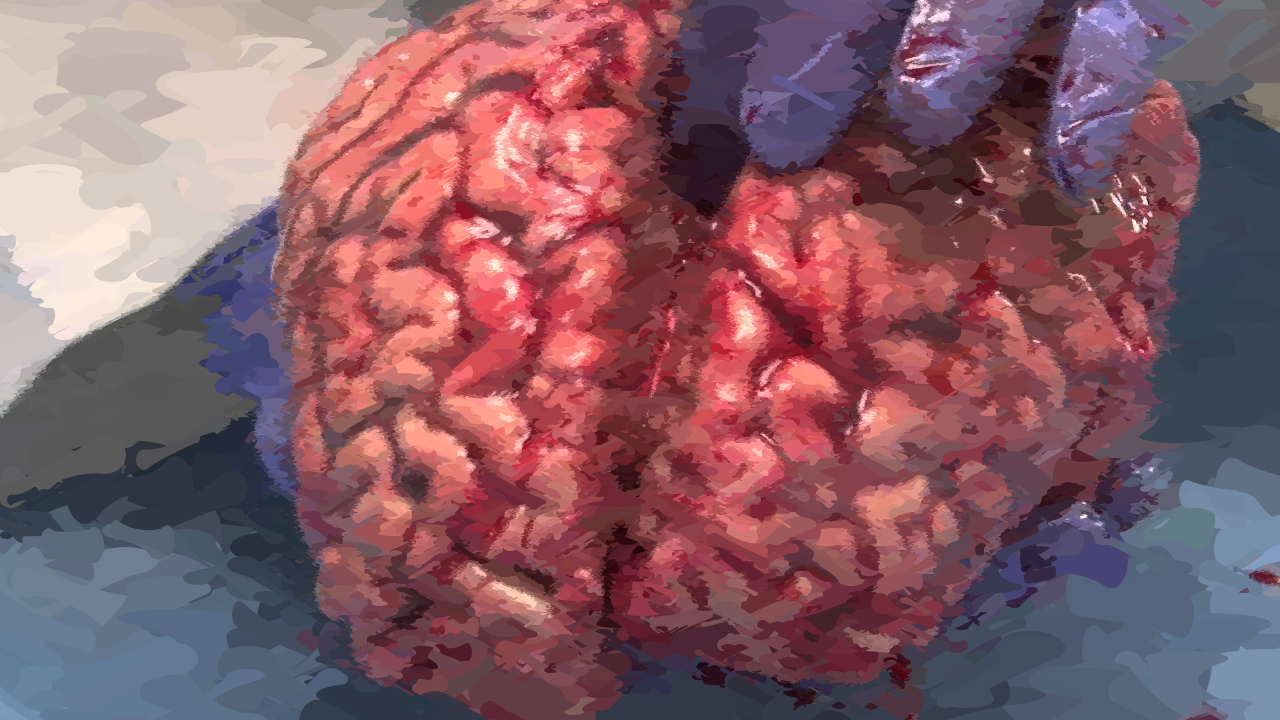
It was inspired by the Create Applications of Deep Learning class and Ben Garney’s blog posts about writing a proof of concept video chat system. In both cases, the technique of defining, measuring, and reducing error is the core concept that makes it all work. Final brain here.
In the future, I’m planning to apply this to video. It’ll be straightforward to take the previous frame of a video and use it as the starting point for the next frame. I think the effect could be cool. I might also port a simple version of this to a more popular language and give a DorkbotPDX workshop on it. Final clocks here.
iOSBNIZ is a port of IBNIZ by viznut to iPhone and iPad. This allows me to program little audiovisual hacks on my iPhone with minimal typing. IBNIZ features a VM with opcodes that are one character long, ideal for not hitting too many buttons. It also has a FORTH like stack which is a fun puzzle to play with. The VM calls the program for each pixel and pushes time, x, and y onto the stack. Your program uses these values to generate the visuals (and audio). You can also write a full program and ignore this loop as well.
iOSBNIZ is available on the Apple App Store. Download and have fun!
I’ve been meaning to document my work on this project for about year now. TBA 2014 reminded me it is time to actually do it! So here it is:
For the past year and a half I’ve been working with a dance company called BOBBEVY. I’ve been creating graphics that go along with the dance performance called “This is how we disappear”. Here’s a review at Portland Monthly.
Jesse Meija was doing music and got me involved with this project, I’m very grateful!
Version 1
Effects for the first set of performances:
A forest of trees created from a drawings by David Stein.
Particle effects that mimiced the dancers movement.
Particle effects that just fly across the screen
In order to accomplish this, I wrote a piece of software that would do the animation and handle tracking the dancers. There were two versions, the first version was used to perform a few times. Notably Dance+ in 2012 and as part of Experimental Half Hour XXXVII. It consisted of the following pieces:
Freenect, used to interface to the Microsoft Kinect.
Control, used to control the software from an iPad
This version worked ok. Before I started using Control, I had been triggering all of the sequences with keyboard commands. It worked fine, but I had to have a cheatsheet that told me what keys did what. Also, each command just mutated the state of the program, so if you triggered things in a different order you’d end up in different states. This made some rehersals hard, because it was difficult to return the graphics to a previous state. However, with Control, it became easier to use the software. BOBBEVY performed in Milwaukee without me and was able to use the software just fine! For Dance+ the Kinect refused to work in the studio, I think because the temperature in the room was so high. So I ended up “drawing” the dancers with a multi-touch interface in Control.
For the particle effects that followed the dancers, I ended up using blob tracking and distingugishing blobs based on distance away from the Kinect. I liked the stateless design because the dancers would move in and out of view of the Kinect and I feel that keeping track of them properly would have been a nightmare. This created some surprising benefits though. The swarms move between the dancer when their relationship to the Kinect changes and it created some really nice animations. Also, this piece has a lot of tension between the dancers and the particles ended up expressing some tension when the dancers were about the same distance away from the Kinect.
Version 2
Additional effects for the second set of performances:
Static/simple projection mapped screens (similar to my Party House project).
Realtime projection mapped patterns on the dancers bodies
For the second version of the software, I used the following new pieces:
QTimeline, this is a timeline that allows one to control tweens of variables
QuNeo, as much as I liked Control using a touchscreen while not looking at it (I had to look at the dancers for my cues!) is not ideal. A physical controller allows you to rest you finger on the button/slider you need to push without triggering it. (The cool kids pronounce it keeen-wah).
For TBA, 3, yes 3! Projectors. Two of them were used to cover the wide background, and one was used to project onto the dancers themselves.
The timeline solved many problems for me. It took what I used to have hard code in the application (fade times, animation speed, etc) and moved it to a data format. The editing GUI was nice to have as well. A new version of Cinder that made using multiple displays easier to use was really nice to have as well. I didn’t need to mirror my desktop screen anymore, which meant I could display debug and other helpful info on my screen. The QuNeo also allowed me to directly control ramp parameters which meant I didn’t need to rely on predetermined fades as much. This also allowed me to be more engaged with the visuals which was really fun. I think the trick to this will be finding the right balance between direct control and triggers to presets. It is probably the same balance electronic musicians search for.
The newest effect for the second run was the projection mapped dancers. In order to accomplish this, I was going to have to find the dancers with the Kinect and then project onto them as close as possible. I used the vvvv patch from here as a starting point to learn how to calibrate my projector with the Kinect. In the end, I wrote my own calibration code because it fit the setup workflow a bit better.
The projection mapped dancers worked pretty well. I was really excited to see them turn into just an indistigushable mass at moments and then turn back into dancers the next. I think this is what projection mapping should do: transform objects and confuse you, then bring you back to reality. I hope to do more of this in the future!
On March 25th, 2013 the Church of Robotron gave a sermon at DorkbotPDX0x0A. It focused on the mobile Church of Robotron installation we did at Toorcamp 2012. James gave live sermons interspersed with presentation snippets about the installation. We projected our faces onto old TV’s, an homage to Dr. O’Blivion and the Wizard of Oz. I mutated the Party House project to support webcams and applying shaders to the input stream. I was able to control the video source and shaders at realtime during the sermon. We also had slides. I think it was a nice mix of a live human being, psuedo live humans being projected, and standard slides. I hope to do more sermons in the future!